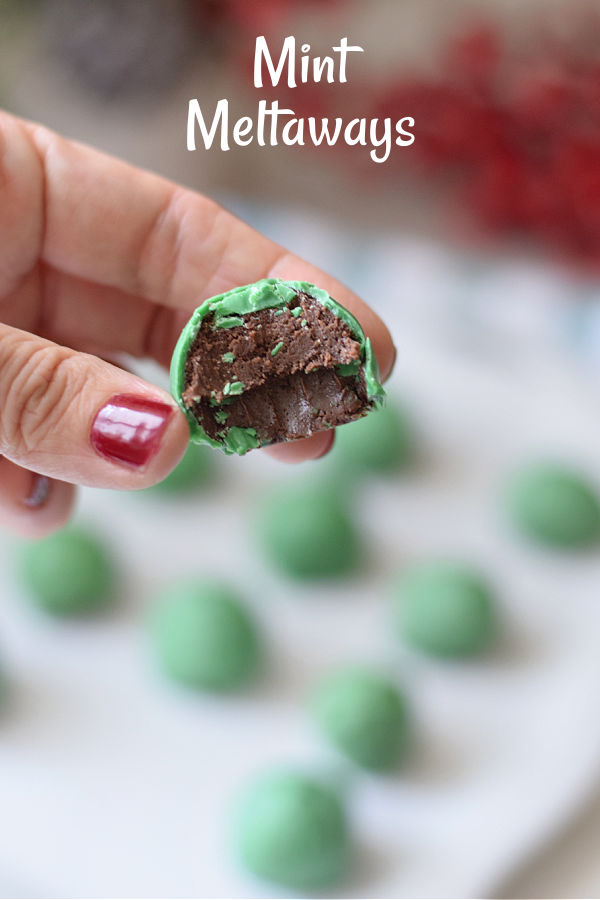
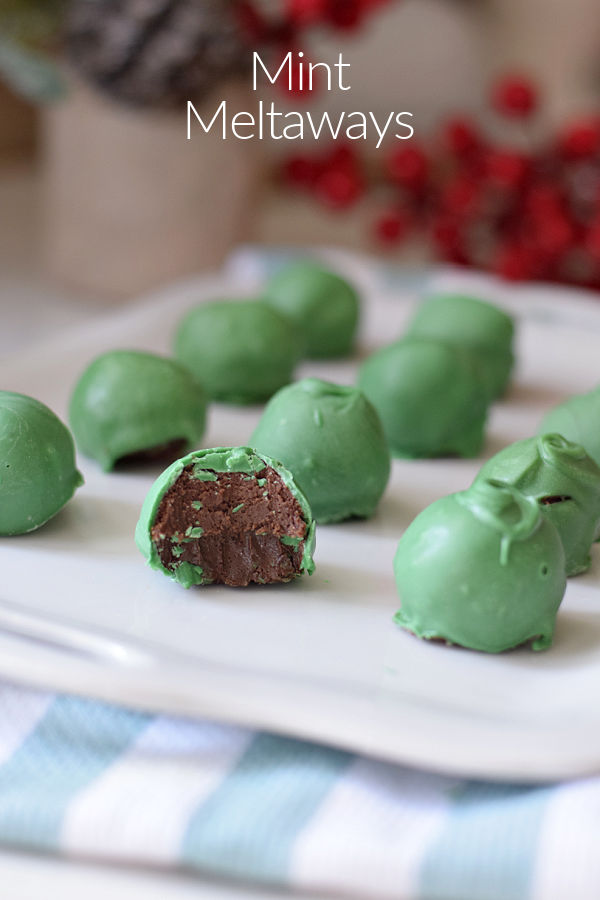
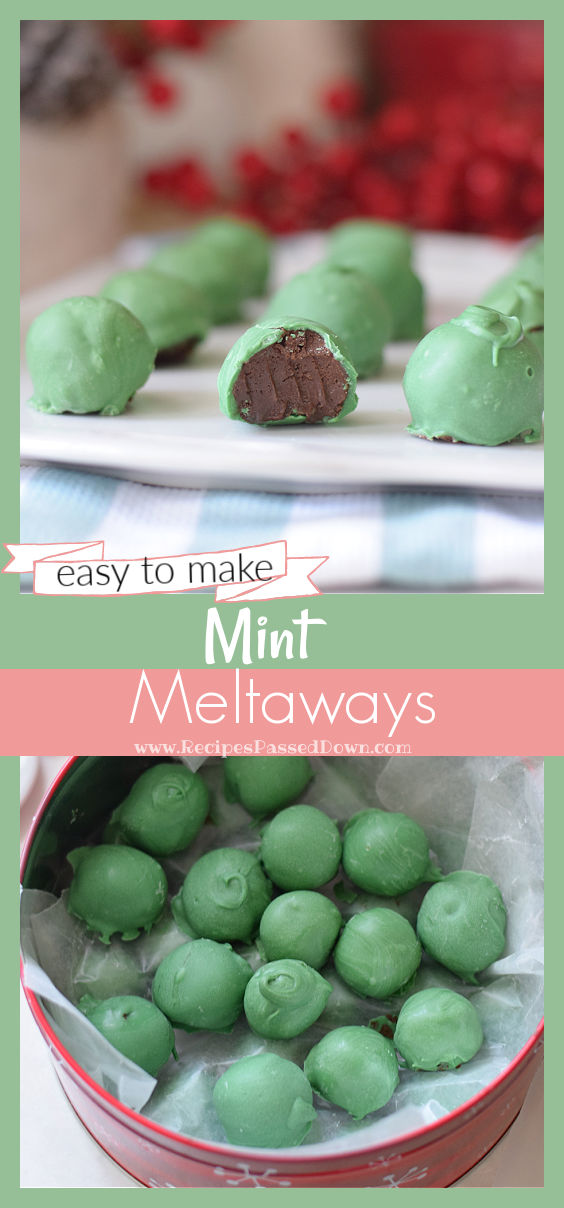
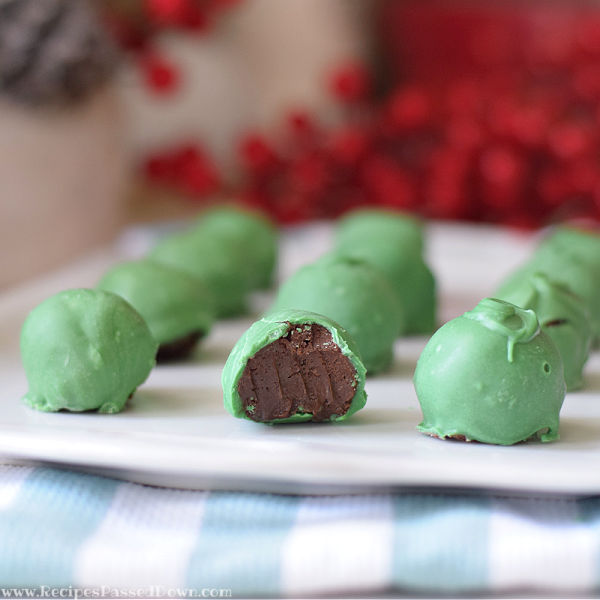
With a mint-flavored chocolate center and a green chocolate coating, this delicious melt-in-your-mouth candy is perfect for the holidays. Mint Meltaways literally melt in your mouth with a softer truffle center filled with a peppermint flavor and thin chocolate coating.
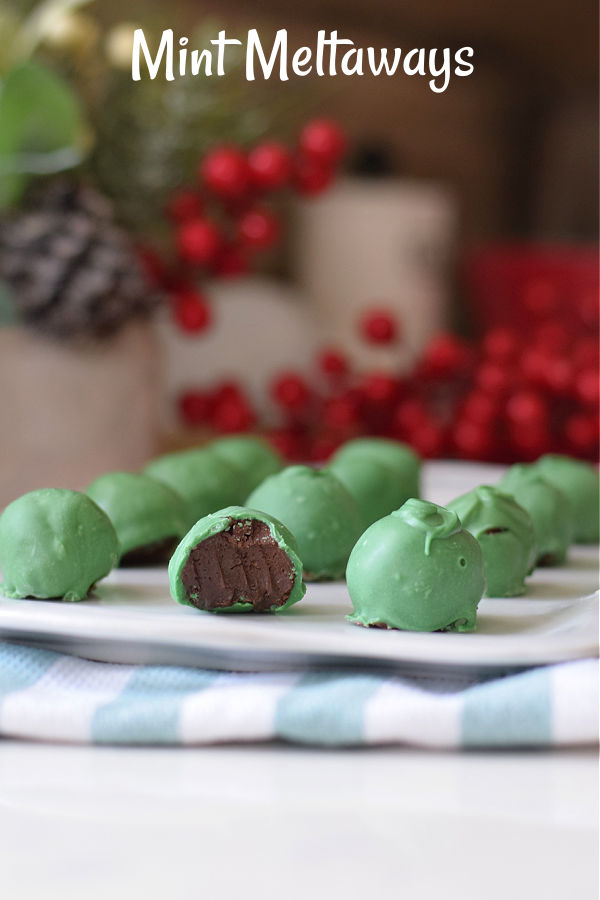
Mint Meltaways – Mint Flavored Truffle Candy
My mom used to make this old recipe when she worked in a candy kitchen. She’s made them every year for Christmas presents. They remind me in the way of a Fannie May mint and are inspired by Fannie May Mint Meltaways.

What I love about this recipe:
- delicious mint flavor
- great candy to give out as gifts
- easy to make

Ingredients:
- light brown chocolate melts – there are plenty of brands out there. I used to prefer Wilton, but now there are lots of great melting chocolate options to choose from
- dark brown chocolate melts
- unsalted butter – melted
- evaporated milk – this will be mixed with the butter to make a creamy buttery mixture
- 3 egg yolks – the egg yolks will need to be tempered before completely adding them to the butter mixture
- up to 2 Tbsp. of peppermint extract or 15 drops of pure peppermint oil – The extract is not as concentrated as the oil, so we used a whole lot more of it
- 24 oz. of light green chocolate melts – this will be used to coat the truffle. Find a color as close to mint as you can

How do you make Mint Meltaways?
- In a large glass microwave-proof bowl, microwave the dark and light chocolate for 1 minute.
- Stir the melted chocolate and pop it back into the microwave for 1 more minute
- Stir until smooth
- In a small bowl, whisk the egg yolks and set aside
- In a medium-sized bowl, whisk the melted butter and evaporated milk
- One spoonful at a time, add a spoonful of warm butter mixture to egg yolk and mix
- Once the eggs have warmed up and thickened, pour them into the butter and evaporated milk mixture and mix well
- Stir in the peppermint extract
- Now, add the cream mixture to the melted brown chocolate and stir until blended
- Cover and refrigerate for a few hours or overnight
- Pour a small amount of all-purpose flour onto your work surface
- Using your hands or kitchen gloves, pat them onto the flour and rub your hands together so the flour is lightly coating your palms
- Roll the truffle mixture into small teaspoon-sized balls
- Set out a piece of wax paper
- Melt the green chocolate
- Using a fork or dipping tool, One by one, dip truffle balls into the melted chocolate
- Bring the chocolate balls up to the side of the bowl and tap to release excess melted chocolate
- Place the coated truffles onto the wax paper to dry
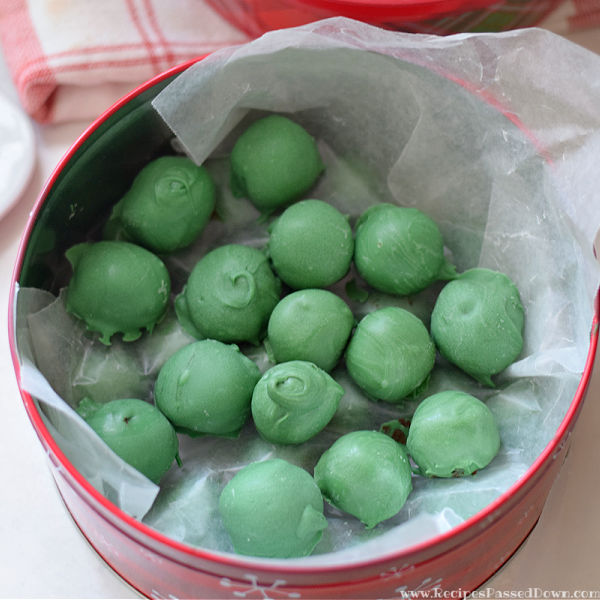
- Store in an airtight container in a cool place
FAQs
What is a Truffle?
A truffle is a soft and creamy candy that is sometimes made with butter, cream, and egg yolk moisture
Make Ahead and Storage:
Can I make these truffles ahead of time?
Yes! These mint meltaways make great gifts
Storing:
Store these meltaways in an airtight container in the refrigerator for up to 2 weeks
Can you Freeze this candy?
I would not recommend storing chocolate-covered candy in the freezer
A note about storing chocolate in the refrigerator or freezer: The chocolate might react to moisture by creating a sugar bloom
What is Sugar Bloom?
Chocolate is a finicky ingredient. Once it is exposed to moisture from the refrigerator, the freezer, or even humidity in the air, the sugar reacts. Moisture collects on the surface and attracts the sugar. The sugar rises and makes white specks all over the chocolate
How much Mint Extract should I use?
The original recipe used peppermint oil which requires 15 drops. We experimented with the flavor and added a whopping 2 Tbsp. of extract vs. the 15 drops (around 1/4 tsp.) of pure peppermint oil

Tips and Tricks
- use wax paper to dry your melted chocolates on
- temper your egg yolks before adding them to the hot butter so they do not cook
If you are ready to make this delicious chocolate mint candy, let’s make sure you have everything you need:
Recipe
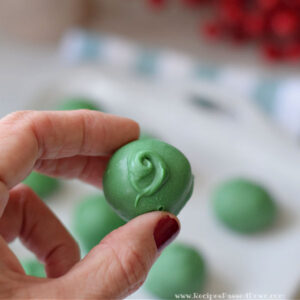

Mint Meltaways
Ingredients
- 4 cups chocolate melts light brown
- 4 cups chocolate melts dark brown
- 9 Tbsp. unsalted butter – melted
- 1 cup evaporated milk
- 3 egg yolks
- 2 tbsp. peppermint extract OR 15 drops of pure peppermint oil
- 24 oz. chocolate melts light green
- all-purpose flour small amount
Instructions
- In a large glass microwave-proof bowl, microwave the dark and light chocolate for 1 minute
- Stir the melted chocolate and pop it back into the microwave for 1 more minute
- Stir until smooth
- In a small bowl, whisk the egg yolks and set aside
- In a medium-sized bowl, whisk the melted butter and evaporated milk
- One spoonful at a time, add a spoonful of warm butter mixture to egg yolk and mix
- Once the eggs have warmed up and thickened, pour them into the butter and cream mixture and mix well
- Whisk in the peppermint extract to the creamy egg mixture
- Now, add the creamy egg mixture to the chocolate and stir until blended
- Cover and refrigerate for a few hours or overnight
- Pour a small amount of all-purpose flour onto your work surface
- Using your hands or kitchen gloves pat them onto the flour and rub your hands together so the flour is lightly coating your palms
- Roll the truffle mixture into small teaspoon-sized balls
- Set out a piece of wax paper
- Melt the green chocolate
- Using a fork or dipping tool, One by one, dip truffle balls into the melted chocolate
- Bring the chocolate balls up to the side of the bowl and tap to release excess melted chocolate
- Place the coated truffles onto the wax paper to dry
- Store in an airtight container in a cool place




I don’t see in the instructions when and to which mixture to add the peppermint extract.
Thank you so much for catching that. I added it to the recipe, so it should explain it now. Basically, you’ll pour it into the cream and egg mixture and whisk it with a fork or a whisk so it is evenly distributed.
I made a video on how to make them and posted it on my Facebook page. Here’s a link to help you in making it. https://www.facebook.com/100078866391039/videos/1258698074913086
This recipe could be halved. I made about 40 balls, then ran out of green colored white chocolate. I melted down the remaining half and poured onto a cookie sheet, refrigerated then topped with additional melted white chocolate bark and a drop of green food coloring. Popped out of pan and coated another layer of green colored chocolate onto other side. After refrigerating until firm, I broke into pieces that reminded me of Andes Candies. Make sure to coat both sides, the chocolate layer middle is softer than hardened chocolate coating.
Thanks for sharing! Aren’t they delicious, though?!